- Matte khaki Humbrol
Enamel paint
- Matte brown Humbrol Enamel
paint
- Matte white Humbrol Enamel
paint
- Matte light beige acrylic
paint
- Matte brown acrylic paint
- Matte
gray acrylic paint
- Satin
green acrylic paint
- Matte red acrylic paint
- Matte
white acrylic paint
- Matte
orange acrylic paint
- Matte beige acrylic paint
- Satin dark gray acrylic
paint
|
- Large paintbrush (10-15
mm wide) with wirehaired
- Fine paintbrush (5 mm
wide)
- Thin paintbrush (2 mm
wide)
- Paint palette
- Sponge kitchen and water
pan
- Craft knife
- Scissors
- Gel
cyanoacrylate glue (Super
Glue 3 gel)
- Gel glue (UHU
gel glue)
- Transparent plastic sheet
- Matte printer paper
160 g/m2
|
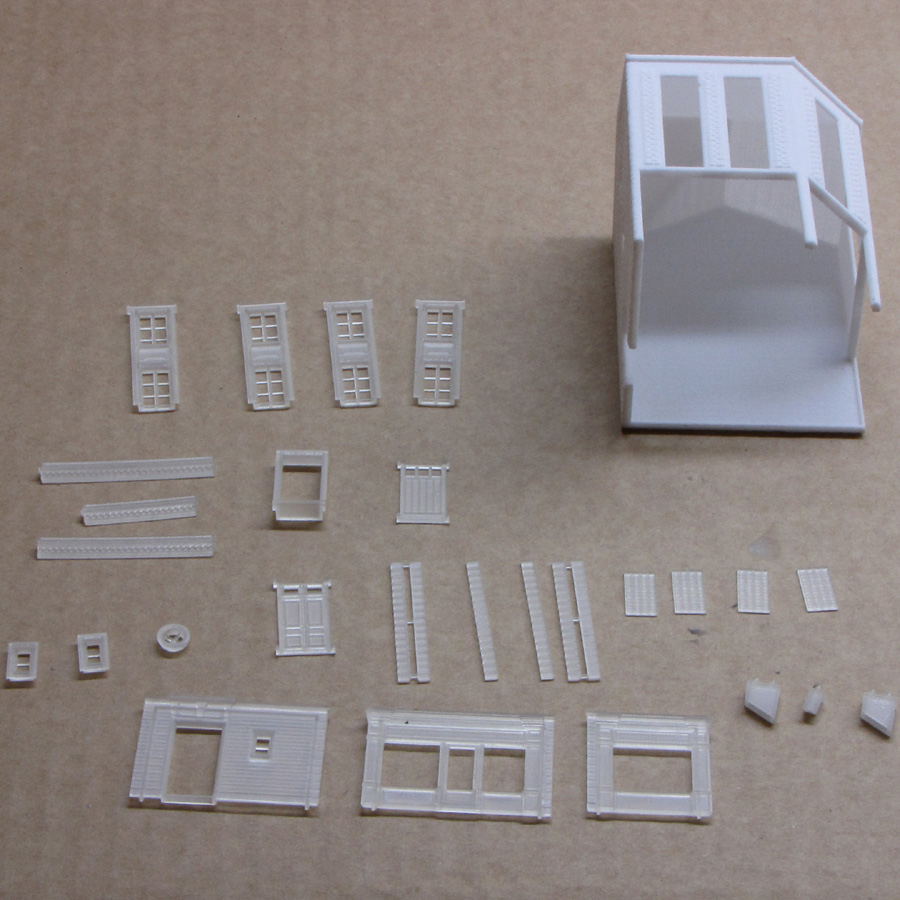 |
The kit consists of one
part in Fritted polyamide and many in Acrylic polymer. |
 |
A primer is painted with
a brush to the whole kit.
The Fritted polyamide
is covered with a thick acrylic paint beige light color.
Clean the remaining deposits powder before painting.
The Acrylic polymer receives
Humbrol Enamel paints : khaki, brown and white. Never
use acrylic paint for a first layer on this material.
See also the tutorial
for painting Acrylic Polymer.
|

 |
Check that the parts
fit together well.
Here it was necessary to
shave a little with a craft knife the top of the cornices.
|
 |
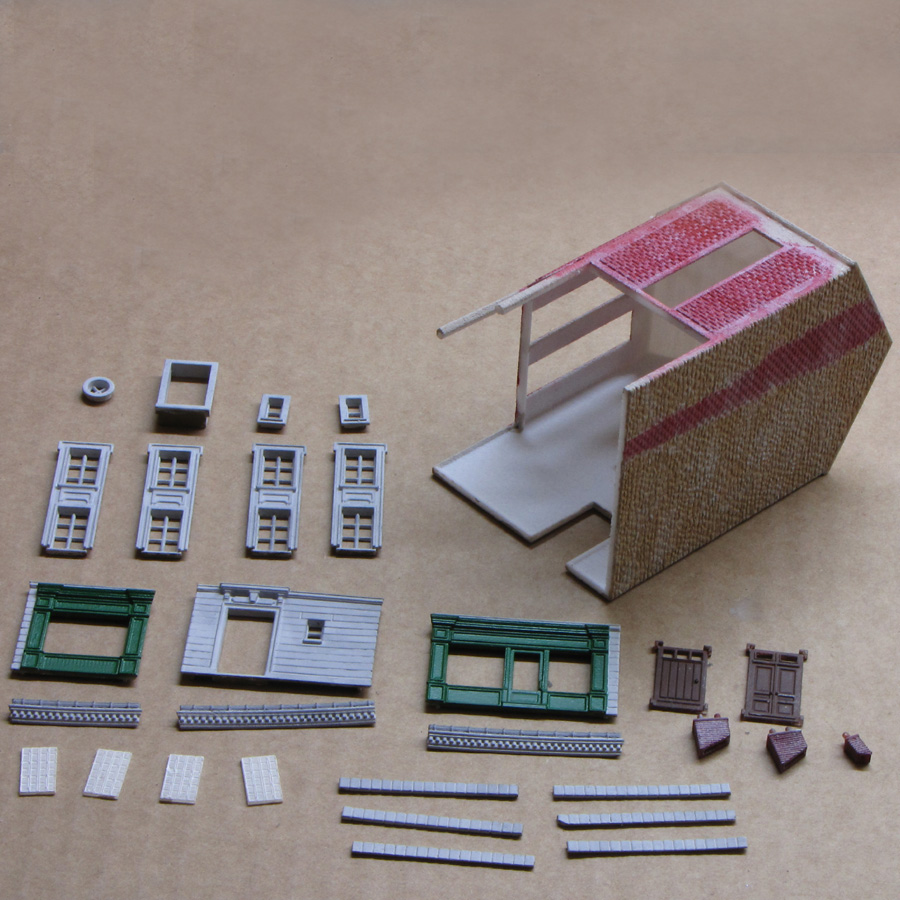
Then we pass to the first
coat of paint. Only water acrylic paints are used here:
- White on the moldings
and plasters.
- Beige and white stamping on the stone floor.
|
 |
After a few hours we
can pass to the second coat of paint:
- Green on the shop.
- Grey on the gutters.
- Red on the chimneys.
- Red also on the bricks of the body of the building.
|
 |
After drying of the second
layer, we pass a white juice in the joints of the bricks.
This concerns chimneys but
also the brick walls of the body of the building.
The technique of painting
juice is quite simple. On the paint palette, diluted
some paint with water. And then applied on the surface.
The excess is blotted immediately with a dry brush or
with a damp sponge.
|
 |
After drying, we goes
to the roof of the building.
It receives a red paint
and before it dries, a slightly diluted orange is mixed
irregularly to red.
|
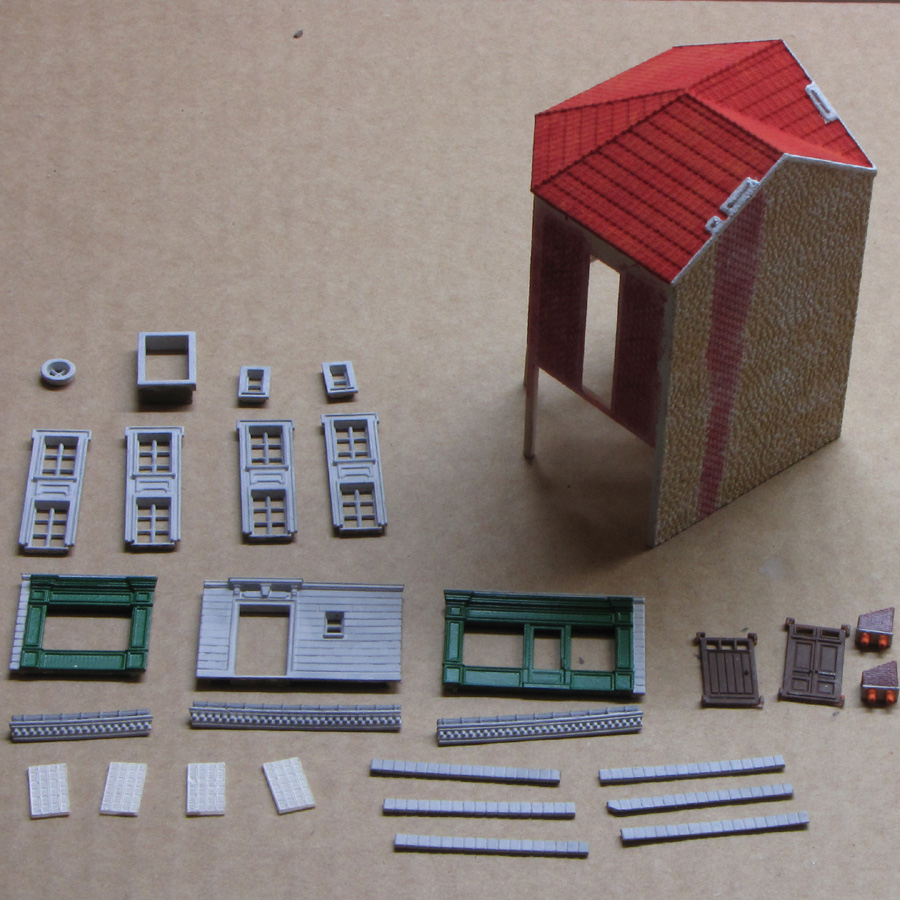 |
After drying, the roof edge
and chimney border receive a white border.
Finally chimney tubes receive
an orange paint.
|
 |
A slight dark gray juice
is applied to the body of the building. |
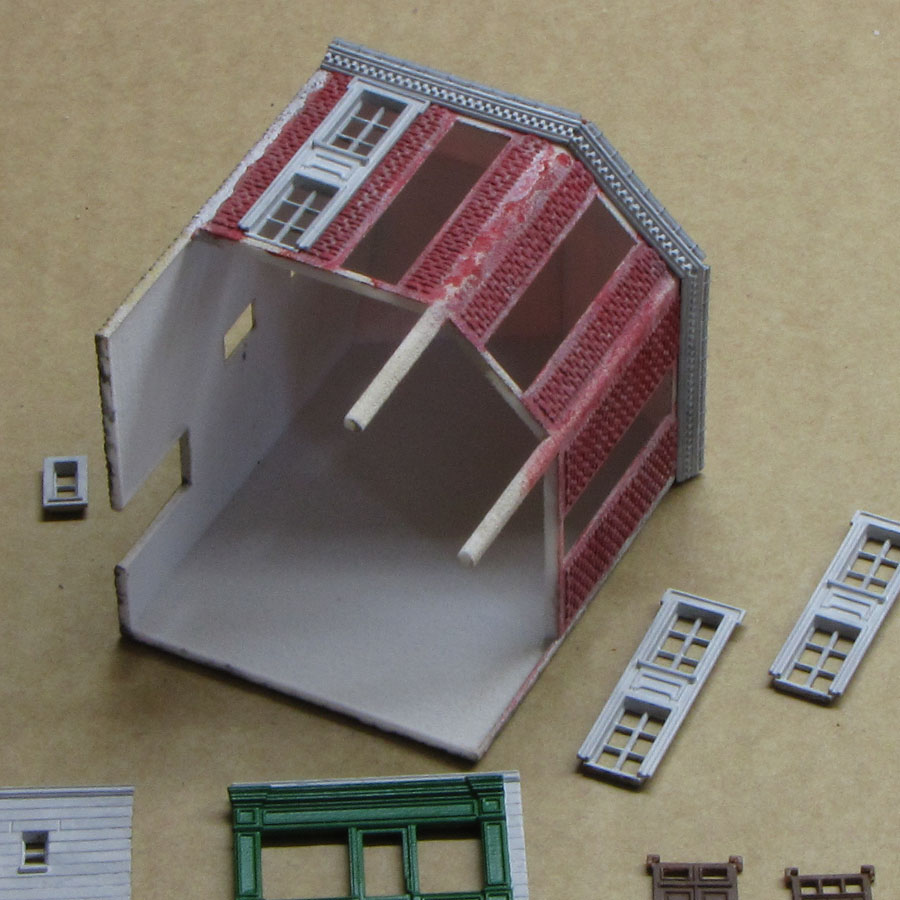 |
The pieces begin to be
assembled with cornices. This is the Super Glue 3 gel
that is used. We have to assemble the windows without
glue to verify that the cornices are at the right level.
The windows are then
glued.
|
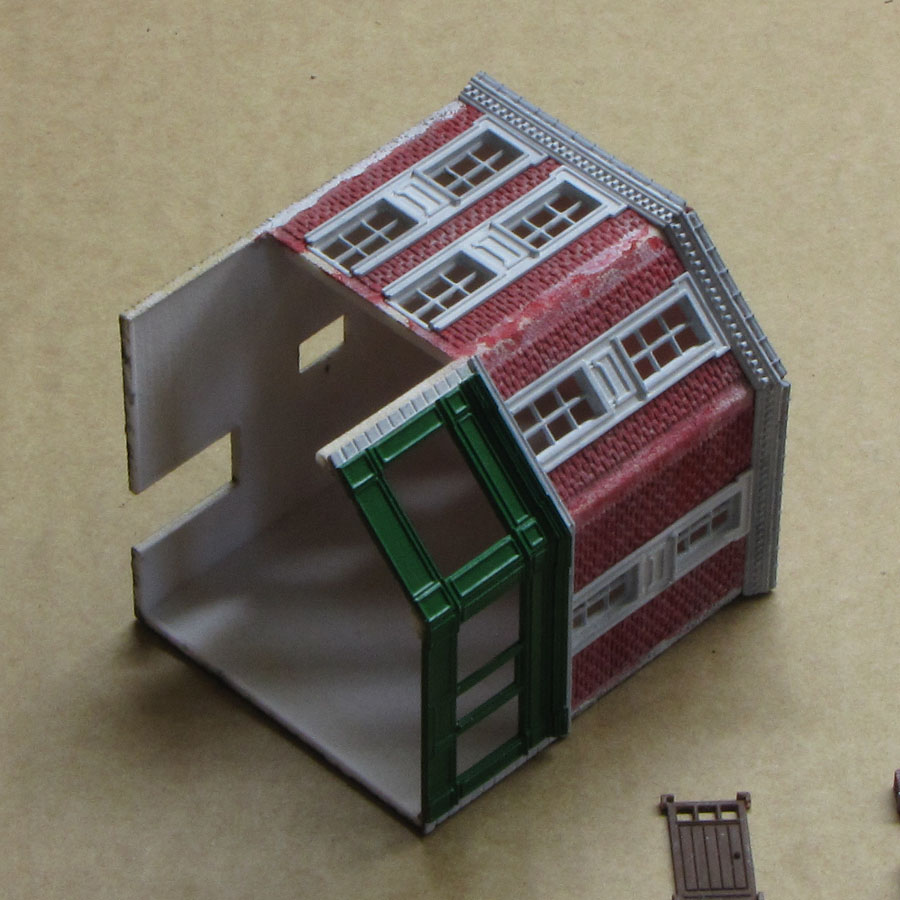 |
Next comes the gluing
of the lower part of the facade. |
 |
The vertical stone chaining
are then put in place.
The elements of the rear
façade and chimneys are glued in last.
Small dabs of paint can
be applied to mask the joints.
|


|
The shop receives a slight
patina with a brown juice. The masonry of the façade
receives a dark gray juice at the bottom.
From the inside, the glass of the windows, curtains
and the decor of the store are glued. Curtains and decor
of the shop comes from a printout board.
The shutters that have received a slight dark gray juice,
are also glued at this point.
These elements are glued with UHU glue gel.
The building is complete.
|


